
To add an automatic table of contents in Word, first apply Word’s built-in Heading 1, Heading 2 and Heading 3 styles to your section titles, then go to References > Table of Contents and pick Automatic Table 1 or Automatic Table 2. Word reads those styles and builds the contents page with dot leaders, page numbers and working links.
The catch is that “automatic” does not mean live. Word treats the contents page as a field, so it refreshes when you print or export to PDF, and otherwise waits for you to tell it to. Get the heading styles right first and everything after that takes about thirty seconds.
I’ve built enough of these for reports and theses to know where people get stuck: it is almost never the insert step, it is the styling step just before it.
Table of Contents
- 1What You Need
- 2Step-by-Step: How to Add Automatic Table of Contents in Word
- 3How to Add Automatic Table of Contents in Word for the First Time
- 4How to Choose Which Headings Appear in the Table
- 5How to Update Page Numbers After Editing
- 6How to Format an Automatic Table of Contents
- 7Common Mistakes
- 8Frequently Asked Questions
- 9Why is my automatic table of contents empty in Word?
- 10How do I update the table of contents and page numbers in Word?
- 11Can I add only Heading 1 and Heading 2 to the table of contents?
- 12How do I insert a table of contents on the second page of a Word document?
- 13Does an automatic table of contents update automatically in Microsoft Word?
- 14Why do my Word heading numbers not appear in the table of contents?
- 15Conclusion
What You Need
Three things, and only one of them is a button.
- A Microsoft Word document, saved before you start. Word behaves oddly with unsaved files, and an unsaved crash mid-way is a bad way to lose an afternoon.
- A document where your section titles use the built-in Heading styles rather than manual bolding and font sizing. This is the part people skip.
- A rough idea of which headings belong in the contents page. Word can show three levels by default, and you can change that later.
Platform note: the built-in automatic table of contents works in Microsoft Word for Windows, Word for Mac, and current Microsoft 365 versions. Word for the web has a References tab with a Table of Contents option, but it lacks the Custom Table of Contents dialog, so the level and tab-leader controls described below are a desktop feature.
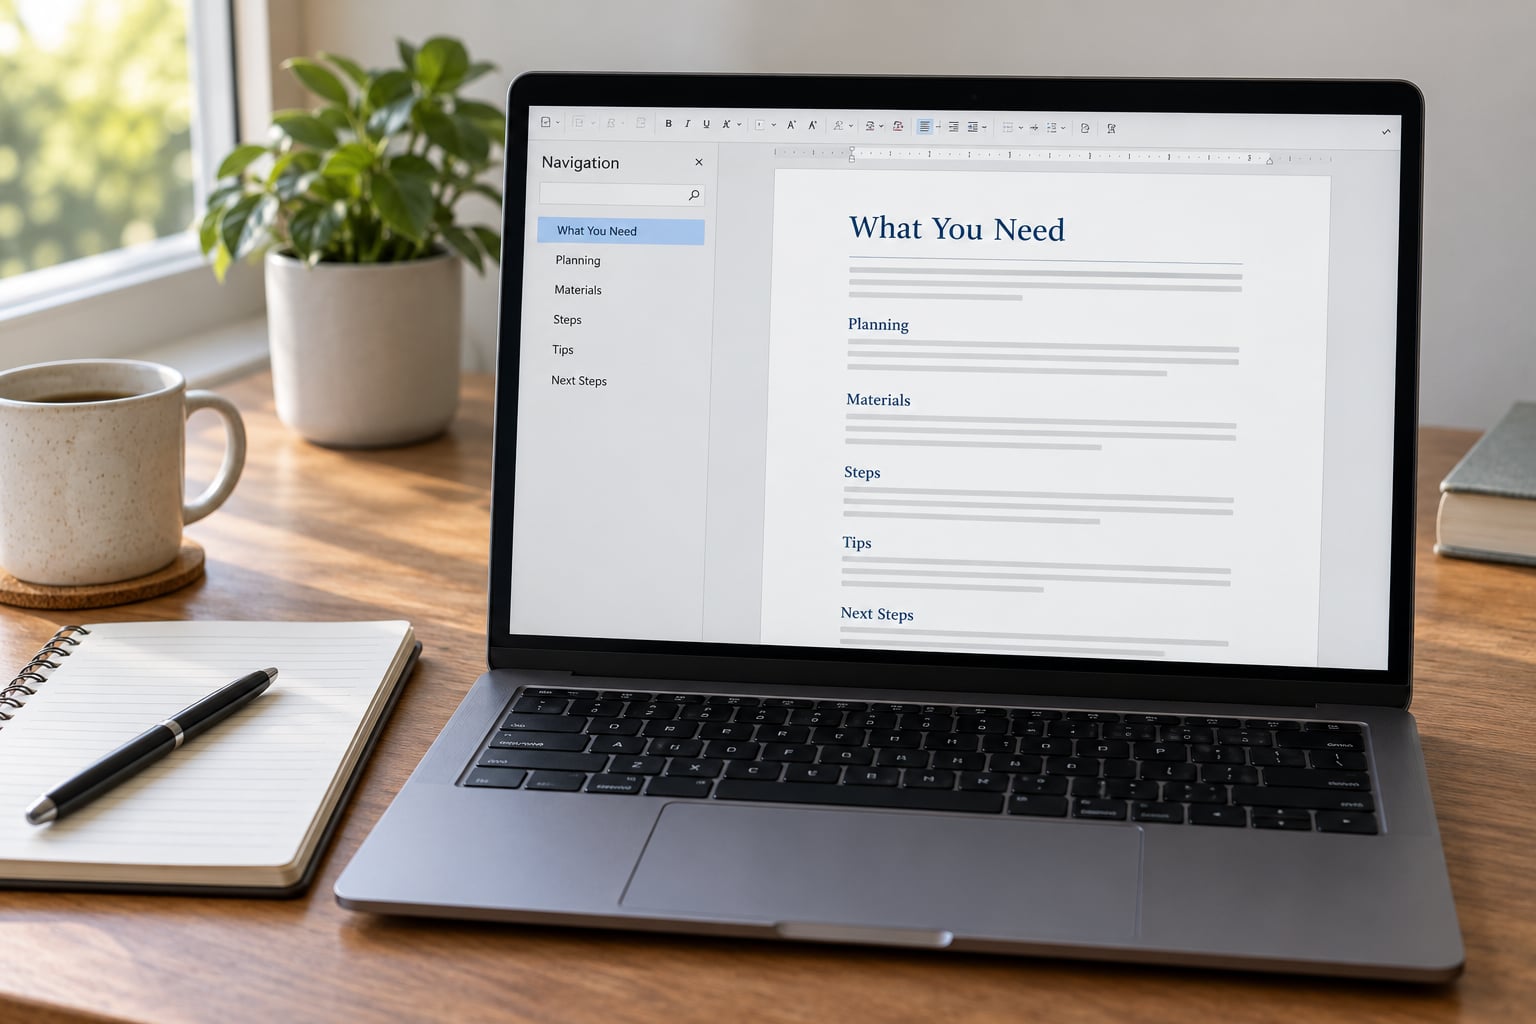
Open the Navigation pane (View > Navigation Pane on Windows, View > Sidebar > Navigation on Mac) and it doubles as a live check on your heading structure. Every entry there is a real heading, which means every entry there can go in the contents page.
Step-by-Step: How to Add Automatic Table of Contents in Word
The whole process is four moves: structure your headings, position the cursor, insert the field, then update it whenever the document changes. Each of the next four parts covers one move in full.
How to Add Automatic Table of Contents in Word for the First Time
Start at the Home tab and open the Styles gallery. Click the little launcher arrow in the bottom-right corner of the Styles group if you want the full pane.
- Put the cursor on your first section title and apply Heading 1 from the Styles gallery.
- Move to the next title down a level and apply Heading 2. Use Heading 3 for the sub-sub parts, and no deeper unless a document genuinely needs it.
- Click at the very top of the document, above your first heading, and press Ctrl+Enter (Command+Enter on Mac) to push that heading onto a new page.
- Go to References > Table of Contents and choose Automatic Table 1 or Automatic Table 2.
- Right-click anywhere in the new table and pick Update Field > Update entire table.
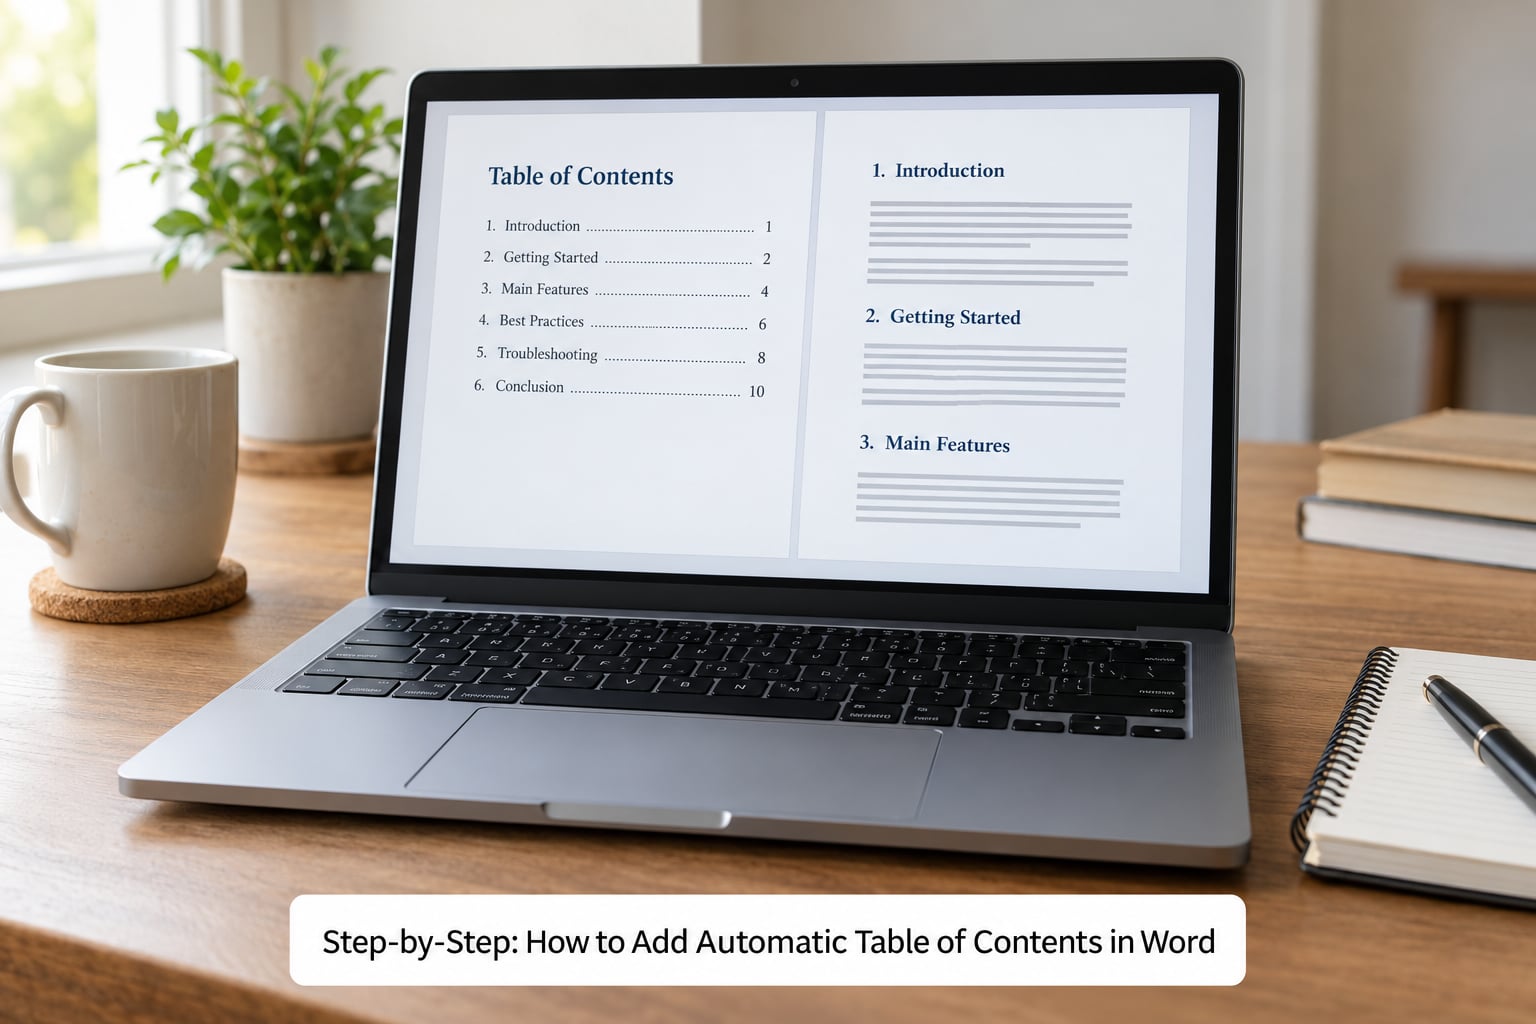
You should see a shaded block of entries, each one hyperlinked to the heading it came from, with a right-aligned page number at the end. The grey background is field shading and it does not print; if you want it off, turn off Show field codes or field shading in Word Options.
If the table comes out empty, that is a heading-style problem, not a Word problem. Set the cursor inside a heading and look at the Styles gallery: the applied style has to read Heading 1, Heading 2 or Heading 3, not something you renamed it to.
How to Choose Which Headings Appear in the Table
The Custom Table of Contents dialog is where you decide what gets listed and how it looks. Reach it from References > Table of Contents > Custom Table of Contents, or by clicking Edit next to any existing automatic table.
- Show levels takes a number from 1 to 9. Set it to 2 and only Heading 1 and Heading 2 entries appear.
- Formats chooses the entry template per level. The built-in options are usually fine.
- Show page numbers, right-align page numbers and Tab leader control the page number column. Tab leader options include dots, dashes and nothing.
- Use hyperlinks instead of page numbers makes the whole entry clickable instead of just the number.
- Options opens the dialog that maps styles into the table.
Inside Options, the Styles list is the part that matters. Every style set to a number gets pulled into the contents page at that level. Move “Body Text” from level 2 to level 1 if ordinary paragraphs are showing up in your table, and use the Style box to map your own custom heading styles into the structure.
Anything you set to “None” is skipped. That is how you exclude a heading without deleting it, for instance an acknowledgements page you do not want listed.
How to Update Page Numbers After Editing
Word refreshes the field automatically when you print the document and when you export it to PDF, which is why a contents page submitted as a PDF usually looks right even when the on-screen copy looked stale.
For everything else, there are three ways to force a refresh, and they are not interchangeable.
- Update entire table re-reads headings and page numbers. Use this after you add, rename or delete a section.
- Update page numbers only recalculates the numbers and leaves the entries untouched. Use this when a few pages of text shifted the pagination and you did not change any headings.
- F9 refreshes whichever field the cursor sits in. Ctrl+Shift+F9 updates the entire document at once. On Mac, hold Fn and press F9, or use the right-click menu.
To get at the same choices from the ribbon instead of the right-click menu, click inside the table of contents so it gets a grey field shading, then use References > Update Table.
One habit worth keeping: right-click and update immediately before you save a final PDF. It costs a second and removes the most common surprise in a submitted document.
How to Format an Automatic Table of Contents
Anything you type or drag directly inside the generated table is temporary. The next update wipes it. The durable fix is to change the style behind the entries.
- Click on a first-level entry in the table of contents.
- The style name in the Styles gallery reads TOC 1. Click it to select, then use Change Fonts, size and colour as needed.
- Click a second-level entry, which uses TOC 2, and adjust it separately.
- Use the Tabs button in the Paragraph group to move the page number column. Set the leader to dots at 6.5 inches or whatever matches your page margins.
Because you edited the style and not the text, every update keeps your changes. This also fixes indent levels, which usually look wrong when the document has been pasted together from more than one source.
Related tables work the same way. Insert > References > Insert Caption puts a caption on your table or figure, and References > Table of Figures > Automatic Table 1 then builds a list of tables or list of figures from those captions, updatable on the same terms.
Common Mistakes
The table is empty. No heading styles were applied, or every heading uses a style you renamed. Open the Navigation pane and check. Apply the real built-in headings and update the entire table.
Only some headings appear. Check Show levels in the Options dialog. A level set to 3 excludes nothing, but a heading assigned to “None” is silently skipped, and a Heading 4 heading vanishes if levels are capped at 3.
Bold, larger text is being ignored. This is the big one. Word builds the table from styles and outline levels, not from how text looks. A bolded line at 16pt is body text as far as the field is concerned. Apply Heading 1 instead and delete the manual formatting.
Page numbers are wrong or stale. Use Update page numbers only after small edits, and Update entire table after structural changes. If numbers are still off, check that page numbering in the footer is continuous; a document with several restarted sections will produce jumps.
Formatting reverts every time you update. You are editing the field directly. Select the TOC 1 or TOC 2 style in the Styles gallery and change the font there instead.
There are two contents pages. You inserted one manually and one automatically. Click the manual one, select it, and delete it, or use it as a caption page and keep only the automatic one.
Indents and levels look scrambled. Almost always pasted content. Pasted text brings its own styles and direct formatting, which flattens the hierarchy. Clear formatting on the affected headings (Ctrl+Space) and reapply the correct heading style.
Stale entries and links that go nowhere. You deleted or renamed a heading after generating the table. Update the entire table to clear them.
Worth knowing: on Microsoft Word for the web, insert the contents page from References > Table of Contents, then refresh it from the same menu. There is no Custom dialog and no F9, so level control is limited.
Frequently Asked Questions
Why is my automatic table of contents empty in Word?
An empty table of contents almost always means no built-in heading styles are applied. Word builds the table by reading Heading 1 through Heading 9 styles and their outline levels, not by looking at font size, bold or colour. Open the Navigation pane and check that each section title shows a real heading style in the Styles gallery, then right-click the table and choose Update Field, Update entire table.
How do I update the table of contents and page numbers in Word?
Click anywhere inside the table of contents, then right-click and choose Update Field. Pick Update entire table after adding, renaming or deleting a heading, because it rebuilds the entries and the page numbers together. Pick Update page numbers only when you have not changed any headings and just want the numbering recalculated. You can also click the table and use Update Table on the References tab, or press F9 with the cursor inside the field.
Can I add only Heading 1 and Heading 2 to the table of contents?
Yes. Go to References, Table of Contents, Custom Table of Contents, then click Options and set Show levels to 2. Word includes Heading 1 and Heading 2 entries and drops everything deeper. You can fine-tune the mix in the same dialog by mapping individual styles to levels, or by assigning a heading style you do not want listed to None.
How do I insert a table of contents on the second page of a Word document?
Click at the very start of your document and press Ctrl+Enter, or Command+Enter on Mac, to push the first heading onto page two. Now click on page two, above the first heading, then go to References, Table of Contents, and choose Automatic Table 1 or Automatic Table 2. If the contents page lands on page one instead, check that the page break is still in the document and that you clicked after it.
Does an automatic table of contents update automatically in Microsoft Word?
Partly. Word treats the table of contents as a field, so it refreshes when you print the document and when you export it to PDF. On screen it waits for you. Right-click the table and choose Update Field, or click inside it and press F9, after any edit that adds, renames or removes a heading. Word for the web has no F9 shortcut, so use the Update option in its References tab instead.
Why do my Word heading numbers not appear in the table of contents?
Numbered headings written as literal typed text, or applied as direct formatting rather than through a multilevel list linked to the heading styles, are read as plain text by the table of contents field. Use Home, Multilevel List and pick the list library option that links numbering to Heading 1, Heading 2 and Heading 3, rather than typing 1. or 2.1 yourself. Then apply the heading styles and update the entire table.
Conclusion
Style the headings first, insert second, update third. Apply Heading 1, Heading 2 and Heading 3 through the Styles gallery rather than bolding and enlarging text by hand, then go to References > Table of Contents for an automatic table.
Once the structure is real, everything else is maintenance: right-click and update the entire table after any structural change, adjust the TOC 1 and TOC 2 styles rather than the text, and let Word handle the refresh when you export the PDF. That is how to add automatic table of contents in Word and keep it correct as the document grows.