
How to format a thesis in Word with styles comes down to one rule: define the formatting once, then never touch a heading by hand again. A Word style is a saved bundle of font, size, colour, spacing, indentation and outline level that you name once and apply to any paragraph, so a 30,000-word document can be restyled, renumbered and reorganised from a handful of controls. These steps are written for Microsoft 365 in 2026 and hold for Word 2021, 2019 and 2016.
If you have ever bolded a chapter title, typed “2.3.1” by hand, and then had to fix it all after moving a section, you already know how manual formatting fails. The styles-first approach takes about an hour of setup up front and saves the kind of last-night panic that gets a submission bounced by a format check.
Table of Contents
- 1What You Need
- 2Step-by-Step: How to Format a Thesis in Word With Styles
- 3Set Up the Document and Page Layout
- 4Create and Apply Paragraph Styles
- 5Build the Title Page and Front Matter
- 6Add Automatic Heading Numbers
- 7Format Body Text, Quotes, and Tables
- 8Insert Figures, Tables, Equations, and References
- 9Control Page Breaks and Section Breaks
- 10Add Page Numbers, Headers, and Front-Matter Labels
- 11Proof and Export the Final Thesis
- 12Common Mistakes
- 13Frequently Asked Questions
- 14How do I apply styles to a whole chapter or document at once?
- 15Why do my Word heading styles not apply or look wrong?
- 16How do I merge chapters from separate Word files without breaking the formatting?
- 17How do I number chapters and sections automatically in Word?
- 18What file format should I submit my thesis in?
- 19Can I use ChatGPT to help with thesis formatting?
- 20Conclusion
What You Need
You need four things, and only the first is software.
- A working copy of Microsoft Word. Microsoft 365, Word 2021, Word 2019 and Word 2016 all handle styles the same way. The ribbon paths below work on Windows; on a Mac the Home tab holds the same commands, but a few keyboard shortcuts swap Command for Control.
- Your university’s formatting rules. Read the graduate school style sheet before you open Word, not after. Margins, font, spacing, page numbering and heading conventions all come from there, and the university document overrides any general academic style guide such as APA, MLA or Chicago.
- The official template, if your program has one. Most graduate schools publish a
.dotxfile with the required styles already defined. Using it is faster and safer than building your own. - A blank working copy plus your structure. A one-page outline of chapters and subheadings, so you know what needs which style before you start.
A word of warning from the doctoral students on r/DissertationSupport: the frustration in this topic is rarely about difficulty, it is about invisible rules. Getting the template first removes most of that friction.
Step-by-Step: How to Format a Thesis in Word With Styles
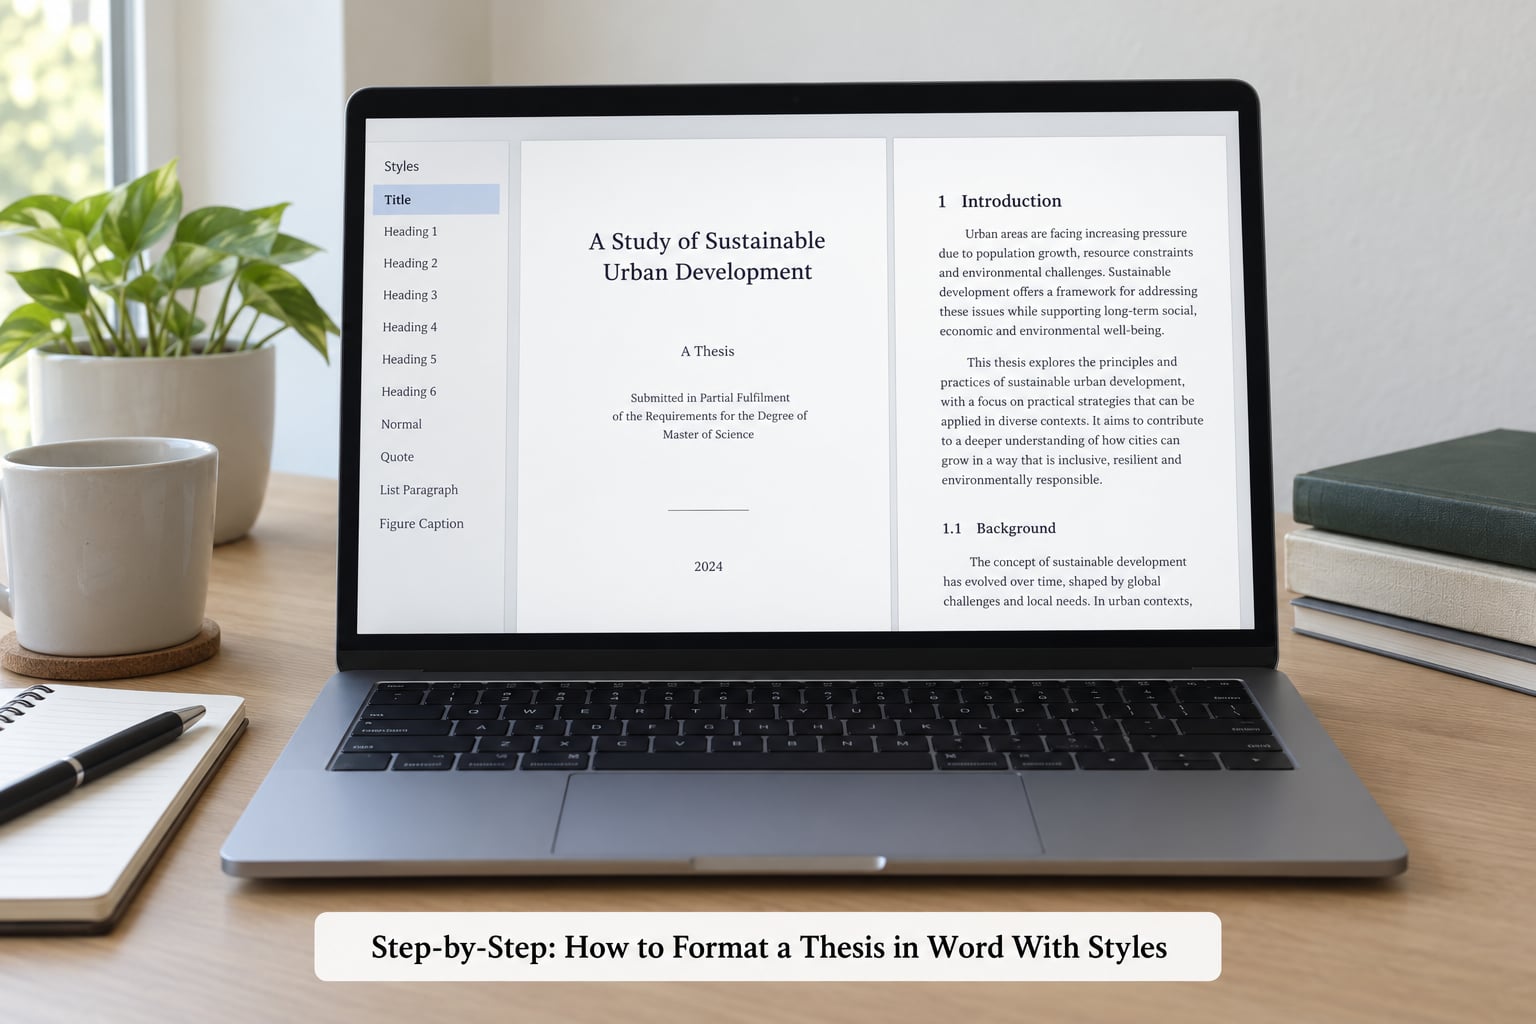
Style-driven formatting has a strict order of operations. Set up page layout, then define the styles, then write and apply them, then let Word build the numbering, the navigation pane and the table of contents from what you have already defined. Formatting before styles exist means doing the work twice.
Set Up the Document and Page Layout
Page setup is the one thing you configure directly rather than through a style, because margins and paper size live on the section level. Go to Layout > Margins > Normal or Custom Margins, then enter the values your university specifies, most often one inch or 1.5 inches on the left for binding. Set paper size on the same tab, and check orientation there too if you have wide tables or landscape pages later.
Line spacing and paragraph spacing belong to the Normal style, which is the next step. Doing them here first means the styles you build on top of Normal already inherit the right baseline.
Create and Apply Paragraph Styles
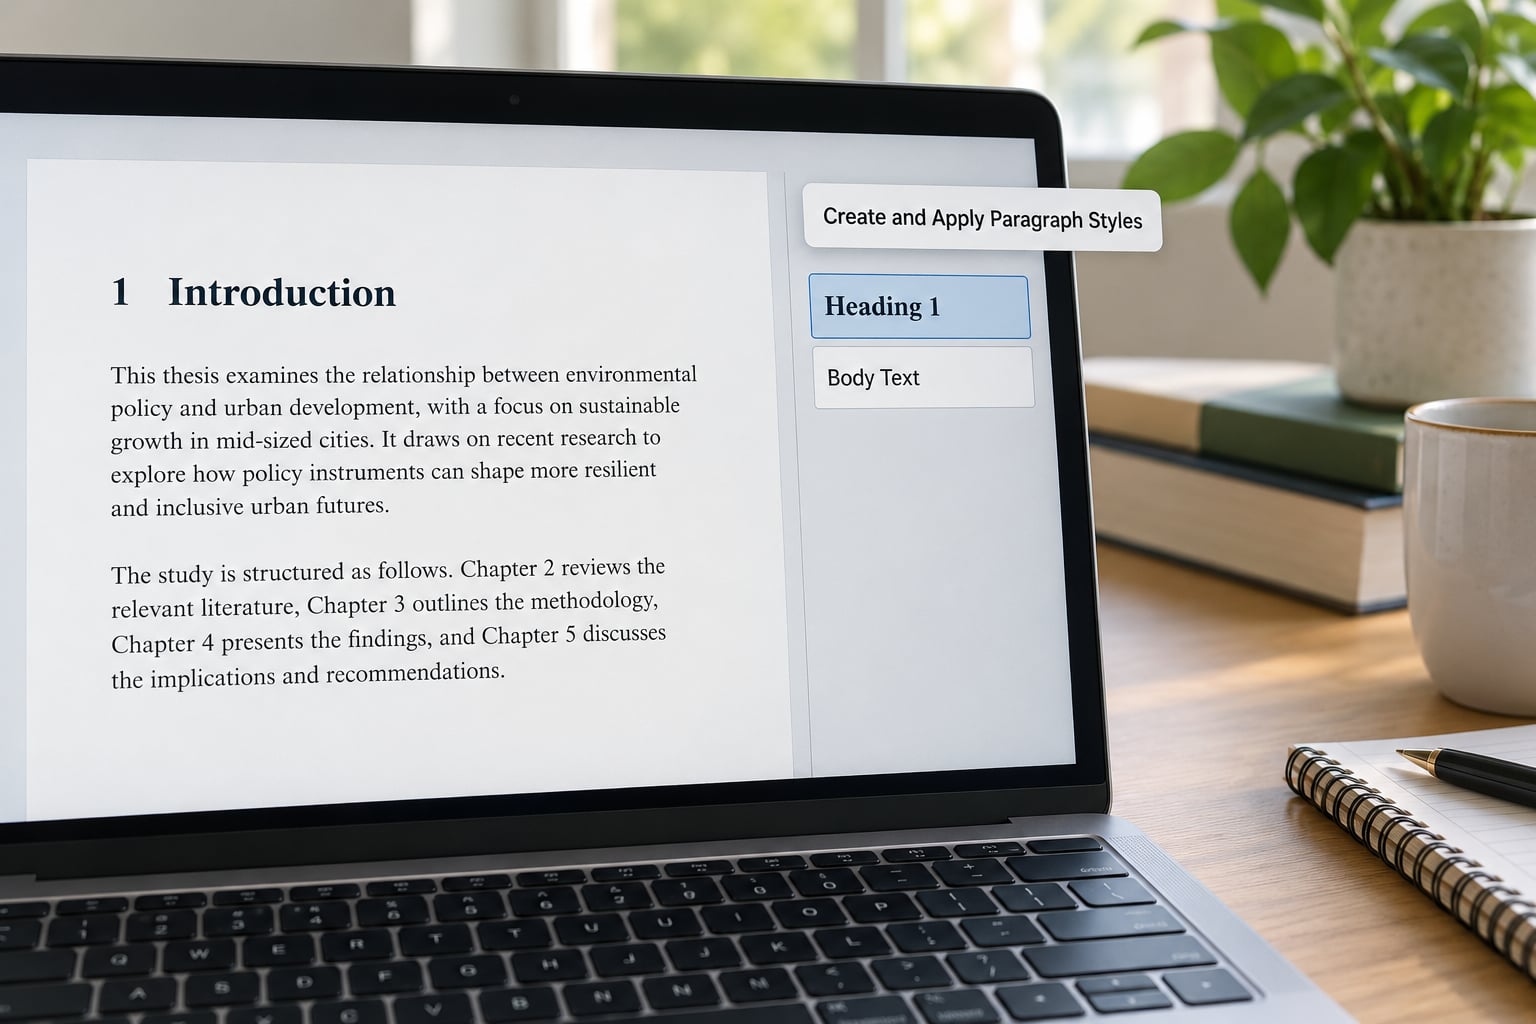
Open the Styles pane with Home > Styles, or press Alt+Ctrl+Shift+S. You will see built-in styles such as Normal, Title, Subtitle, Heading 1, Heading 2, Heading 3, Quote, Intense Quote and Caption. Beginners on r/word describe the same mental model: modify the style first, then select the paragraph and click the style button.
To change a style, right-click it in the gallery and choose Modify. In the Modify Style dialog you set the font, size, bold or italic, colour, alignment, spacing before and after, and indentation. Under Format > Paragraph, tick Keep with next for any heading style so a chapter title can never sit alone at the bottom of a page.
Tick Automatically update only if you understand the trade-off: every paragraph already using that style changes the moment you edit the style, including any that somebody deliberately overrode. Most thesis writers leave it off. New documents based on this template is a safer setting when you want the change to carry into new files.
Here is the style map most thesis documents need. Check each row against your own style sheet before you commit to it.
| Word style | What it controls | Typical thesis setting |
|---|---|---|
| Normal | All body paragraphs | Required font at required size, double spacing, 0 pt before and after, 0.5 inch first-line indent |
| Heading 1 | Chapter titles | Same font as body, bold or plain per your guide, centred or flush left, new page before |
| Heading 2 | Major sections | Flush left, bold, outline level 2 so it lands in the contents list |
| Heading 3 | Subsections | Flush left, italic or bold, outline level 3 |
| Quote or custom Block Text | Long quotations | Indented left and right, double spaced, no quotation marks if your guide says so |
| Caption | Figure and table labels | Flush left or centred, single spaced, keep with the object |
| Bibliography | Reference list | Hanging indent 0.5 inch, double spaced, no extra space between entries |
| TOC 1, TOC 2, TOC 3 | Contents entries | Tab stop with dot leader to the right margin, indentation by level |
Create your own style when a built-in one does not fit: right-click in the pane, choose New Style for Selection, name it clearly, and set it up. A custom style called “Block Quote 40” or “Appendix Heading” behaves exactly like a built-in one and keeps the document consistent.
Build the Title Page and Front Matter
Put the title page first and give it no page number, which you will handle with section breaks later. Use the Title and Subtitle styles for the title block, Normal for author, supervisor, department and date lines, and a heading style only for real front-matter headings such as “Abstract” and “Acknowledgements” so they appear in the contents list.
Then insert the table of contents. Go to References > Table of Contents > Automatic Table 1. It is built entirely from your heading styles, which is exactly why step two had to happen first. Press Ctrl+A then F9 to refresh it, and choose Update entire table when the page numbers have drifted.
Add Automatic Heading Numbers
You never type a chapter number again. Click Home > Multilevel List > Define New Multilevel List, open the More tab, and set the number format for each level: 1, 1.1, 1.1.1. Under Link level to style, link level 1 to Heading 1, level 2 to Heading 2 and level 3 to Heading 3, then tick Legal style numbering so the deeper levels inherit the parent number.
To restart a lower level, right-click a number in that level and choose Restart List at 1, or use Set Numbering Value when a chapter has to start at a specific number. Confirm the result in the Navigation pane (View > Navigation Pane or Ctrl+F): if your chapters do not appear there in order, the heading styles are not applied correctly, and no amount of list tweaking will fix it.
Format Body Text, Quotes, and Tables
Body paragraphs should be Normal, full stop. If a paragraph looks wrong, the usual cause is direct formatting that sits on top of the style. Put the cursor in the paragraph and press Shift+F1 to open Reveal Formatting, which separates what the style says from what a person typed by hand.
For tables, apply a table style rather than bolding cells individually: put the cursor in the table, go to Table Design, choose a plain style, and in Layout > Properties > Row tick Repeat as header row at the top of each page. Set the table’s own text style to Normal with single spacing, or create a “Table Text” style, so table content stops disturbing your double-spaced body text.
Insert Figures, Tables, Equations, and References
Captions should be generated, not typed. Select the figure, then References > Insert Caption, pick the Figure or Table label and set the position below the figure or above the table as your guide requires. The caption picks up the Caption style automatically.
Now refer to it with References > Cross-reference > Reference type: Figure, choosing Only label and number. Cross-references survive renumbering; typed figure numbers do not. To list them, use References > Insert Table of Figures with the Figure caption label.
For equations, use Insert > Equation rather than a pasted image, so the expression stays selectable and searchable. For citations, a reference manager such as Zotero, EndNote or Mendeley inserts formatted entries through its own Word add-in, which is far more reliable than typing references and then hunting for broken in-text citations. Check the hanging indent on the resulting Bibliography style before you submit.
Control Page Breaks and Section Breaks
A page break just starts a new page. A section break starts a new page and gives you a completely separate set of page settings, headers and footers. Beginners mix these up constantly, and the usual result is a header that refuses to change or a page number that keeps counting from the title page.
Use a plain page break (Ctrl+Enter) between chapters, and set Page break before on the Heading 1 style instead so you never insert one by hand. Use a next-page section break (Layout > Breaks > Next Page) only where the layout itself changes: between front matter and body, or around landscape pages holding large tables. In Format > Paragraph > Line and Page Breaks, keep Widow/Orphan control on to stop a single line stranded at a page boundary.
Add Page Numbers, Headers, and Front-Matter Labels
Front matter usually uses lower-case roman numerals and the body restarts at 1 in arabic. Put a next-page section break immediately after the front matter, then double-click into the footer of each section. In the Header & Footer tab, turn off Link to Previous for the section you are changing; if you skip this, the whole document inherits the first section’s numbers.
With the cursor in the footer, choose Insert > Page Number > Bottom of Page > Plain Number 2, then Page Number > Format Page Numbers. Pick i, ii, iii and set Start at i in the front matter section, then switch to 1, 2, 3 and Start at 1 in the first body section. Tick Different First Page where the title page must carry no number. Running heads, if required, are typed into the header of each section in the same way.
Proof and Export the Final Thesis
Before exporting, press Ctrl+A then F9 to update every field, which refreshes the table of contents, list of figures, table of tables and all cross-references at once. Then walk the Navigation pane top to bottom: every chapter and subheading should appear in the right order, and the contents list should match it.
To clear leftover direct formatting, select a region and use the Clear All Formatting button on the Home tab, then reapply the correct style. Ctrl+Space clears character-level overrides only, which is the gentler option when paragraph spacing is already right. The Style Inspector, a free add-in, lists every direct override on a paragraph if you want the full diagnosis.
Add alt text to figures through Picture Format > Alt Text, run the built-in spell and grammar check, and save a backup before you export. For submission, File > Export > Create PDF/XPS Document preserves bookmarks generated from your heading styles, which makes the file easier for examiners to read. Keep the .docx as your working master even if the PDF is what gets uploaded.
Common Mistakes
These six errors account for most format-check failures, and all six come back to the same cause: formatting applied by hand instead of through a style.
- Using spaces or tabs for indentation. Indents belong in the style or the paragraph dialog, never typed. Tab through the Find and Replace dialog to strip them out and set first-line indent in Normal instead.
- Manually bolding and enlarging headings. Select the text and press Ctrl+Alt+1, Ctrl+Alt+2 or Ctrl+Alt+3. A hand-bolded chapter title will never appear in the table of contents.
- Typing chapter and section numbers. Link the heading styles to a multilevel list so an inserted chapter renumbers everything below it automatically.
- Page numbers that run continuously from the title page. You need a section break after the front matter, and Link to Previous switched off before changing the format.
- Captions and figure numbers typed as text. Use Insert Caption and Cross-reference, or the numbering breaks the first time a figure moves.
- Copy-paste dragging in foreign formatting. Paste with Keep Text Only from the Home tab, then reapply the style. This is the fix behind the most common thread on r/MicrosoftWord, where users ask how to stop Word ruining the formatting of surrounding paragraphs.
A related headache shows up when you merge chapters written in separate files, the pattern that comes up repeatedly on Microsoft Q&A. Open the master document, set it up first as described above, then use Insert > Object > Text from File for each chapter rather than pasting. If a chapter arrives with its own styles, select it and reapply your styles from the pane, then clear direct formatting.
Frequently Asked Questions
How do I apply styles to a whole chapter or document at once?
Use Replace All at paragraph level. Press Ctrl+H, open the Format menu, choose Style, and set Find what to Normal and Replace with to your target style. Word restyles every paragraph carrying that style across the whole document in seconds. Check the result in the Navigation pane afterwards, because text that was hand-formatted rather than styled will not move.
Why do my Word heading styles not apply or look wrong?
Three causes account for almost every case. The text is not a real paragraph heading but bold body text, so click it and press Ctrl+Alt+1. Direct formatting is sitting on top of the style, so press Shift+F1 for Reveal Formatting and Ctrl+Space to clear it. Or you edited Normal after applying headings, since heading styles are based on Normal and inherit from it.
How do I merge chapters from separate Word files without breaking the formatting?
Build the master document first, with all styles, page setup and the table of contents already defined, then bring each chapter in with Insert Object Text from File. This keeps headings recognised as headings instead of pasted text. Reapply your styles to any chapter that kept its original look, then clear direct formatting with the Clear All Formatting button.
How do I number chapters and sections automatically in Word?
Use Home Multilevel List Define New Multilevel List, open the More tab, and link level 1 to Heading 1, level 2 to Heading 2 and level 3 to Heading 3. Set the formats to 1, 1.1 and 1.1.1 and tick Legal style numbering. To restart a level, right-click its number and choose Restart List at 1. Nothing gets renumbered by hand again.
What file format should I submit my thesis in?
Most graduate schools ask for PDF, sometimes a PDF plus the Word file. Export with File Export Create PDF/XPS, which keeps the bookmarks generated from your heading styles. Keep the .docx as your master copy because you will need it for corrections. Check your own requirements first, since a few programs still require a specific template-based .docx instead.
Can I use ChatGPT to help with thesis formatting?
For formatting mechanics, a tool like this can explain what a style is or help you write a troubleshooting description, and that is a reasonable use. It should not write your thesis content, generate arguments or summaries that pass as your own work, and you remain responsible for every claim and citation in the document. Most universities treat undeclared use of generative tools as academic misconduct.
Conclusion
The shortest correct path is: open the official template, set page layout, define Normal and Heading 1 to 3, then apply those styles as you write. Everything after that, automatic numbering, the table of contents, the list of figures, cross-references and page numbering, is generated for you from those definitions.
Start with your university’s template and one hour of setup this week. When the format check comes, your document will already be the one that passes, and you will have spent the saved time on the argument instead of on the font.