Backing up research data safely comes down to one rule: keep three copies of your data, on two different kinds of storage, with at least one copy stored off-site. If a laptop dies, a folder gets deleted by accident, or ransomware locks your files, that third copy is what saves the project.
Below is how to back up research data safely, step by step, using free or already-included tools. The whole setup takes about an hour once, and an afternoon at most if your data is scattered across several folders.
Research data deserves better protection than the photos on your phone. A lost year of interviews, lab output, or survey responses usually cannot be regenerated from anywhere else, and re-collecting it can take a season and a small grant. Nobody plans a backup for the week the hard drive fails.
Table of Contents
- 1What You Need
- 2Step-by-Step: How to Back Up Research Data Safely
- 31. Organize the Research Data Before You Back It Up
- 42. Make the First Copy on Reliable Local Storage
- 53. Add a Second Copy to Cloud or Institutional Storage
- 64. Store the Third Copy Somewhere Off-Site
- 75. Protect Sensitive Data With Encryption and Access Controls
- 86. Test the Backup and Document How to Restore Research Data
- 9Common Mistakes
- 10How Often Should You Back Up Research Data?
- 11Frequently Asked Questions
- 12What is the 3-2-1 rule for data backup?
- 13Is cloud storage a real backup for research data?
- 14How often should I back up my research data?
- 15How do I back up sensitive or interview data?
- 16How do I know my backup actually works?
- 17What do I do with research data when I graduate?
- 18Conclusion
What You Need
You do not need an expensive setup. You need somewhere for each of the three copies, a folder structure that keeps them in sync with your work, and encryption if your data identifies people.
- A working copy on the machine you actually analyse on, inside one clearly named project folder.
- A second copy on local storage: a dedicated external drive or your institution’s network share.
- An off-site copy in institutional storage or a reputable cloud service your data policy allows.
- A naming and folder convention applied before you copy anything, so both copies stay usable.
- Encryption and multi-factor authentication turned on for anything with participant information.
- About an hour to set it up and test that a restore really works.
Here is where each copy lives and what each one is good for.
| Copy | Where it lives | Best for | Watch out for |
|---|---|---|---|
| Working copy | Internal drive or laptop folder | Fast, active editing | Never the only copy; avoid encrypted or syncing folders for raw data |
| Second copy | External drive or network storage | Fast restores, large datasets, instrument output | Drives fail silently; keep the drive disconnected when not in use |
| Off-site copy | Institutional storage, repository, or cloud service | Theft, fire, ransomware, campus outages | Sync is not backup; storage limits and file-size caps on free tiers |
The pattern most researchers land on, and the one recommended by library research-data staff, is a working copy plus automatic cloud sync plus an occasional physical archive somewhere else.
Step-by-Step: How to Back Up Research Data Safely
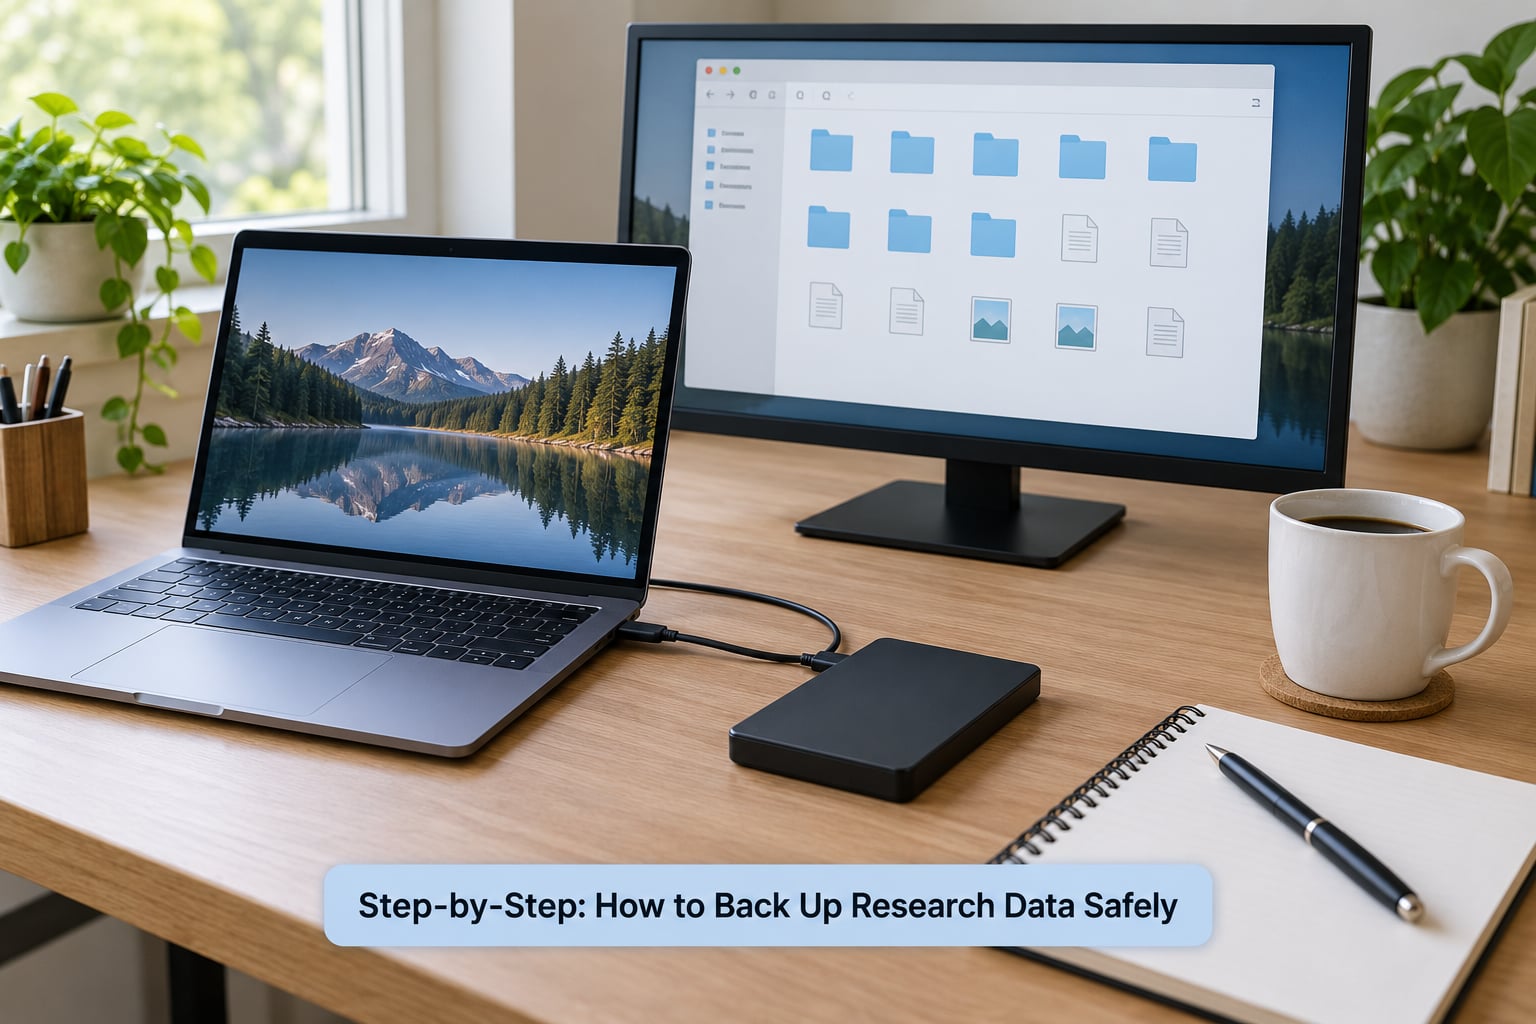
The 3-2-1 rule is the standard: keep three copies of your data, on two different storage systems, with one copy off-site. It matters because no single failure kills all three at once.
The six steps below build exactly that arrangement. It takes roughly an hour for a normal project and needs no special software beyond what your operating system and your institution already give you.
1. Organize the Research Data Before You Back It Up
Backing up a messy folder gives you three messy folders. Spend the first twenty minutes on structure, because file organisation is what makes a backup restorable six months later.
Start with one top-level project folder and separate the material by role rather than by format. A workable layout looks like this:
- 01_raw_data — survey exports, interview recordings, instrument output, sequences. Read-only once written.
- 02_cleaned_data — deduplicated, recoded, merged analysis files.
- 03_scripts — R scripts, Stata do-files, SPSS syntax, notebooks.
- 04_instruments — the survey form, interview guide, codebook, consent wording.
- 05_output — tables, figures, models, logs.
- 00_admin — your data management plan, ethics approval letters, consent forms.
Decide now which folder is the master copy. Usually it is 01_raw_data, and it should never be edited. Corrections happen in 02_cleaned_data, so you can always trace a change back to what the instrument actually produced.
Two habits pay off here. Save analysis-ready files as plain CSV alongside the Excel originals, because open formats survive software changes and proprietary ones do not. And put dates or versions in filenames, such as survey_raw_2026-03-12.csv, instead of final_v2_REALLY_final.csv.
Back up code and codebooks in the same folder tree as the data. A dataset without the script that produced it is a mystery to whoever reads your thesis in five years, including you.
2. Make the First Copy on Reliable Local Storage
Now copy the whole project folder to your second location: an external drive you own, or network storage provided by your department or library.
Format a new drive before you copy anything, using the file system your institution recommends. On Windows that is usually exFAT or NTFS, on macOS APFS or exFAT, and on Linux ext4. Ask IT if you are unsure, because a drive formatted for one operating system can read as unreadable on another.
Copy, then verify. Open five or six files at random from the new copy, including one raw file, one script, and one project file such as an .sav, .dta, or .RData. Checking that the file opens is what tells you the copy is real; a file size matching tells you almost nothing.
Keep the external drive disconnected between sessions. A drive that is always plugged in is one more thing ransomware can encrypt, and it is one more thing that gets carried out of the building in a bag.
3. Add a Second Copy to Cloud or Institutional Storage
Your institution will usually offer storage through OneDrive, Google Drive, Box, SharePoint, or a research drive. Start there, because those services are covered by your data agreement and your ethics approval.
Personal accounts work for non-identifiable data, but check your institution’s rules first. Many ethics boards restrict identifiable human-subjects data from consumer storage entirely, regardless of how good the service is technically.
Watch for the limits that trip people up. Free tiers cap total storage and often cap single file size, which matters when a sequencing run or a high-resolution scan produces a file of several gigabytes. Institutional storage usually raises those caps, and most research offices will also let you request more.
Then the point that catches nearly everyone: sync is not backup. A syncing folder mirrors changes in both directions, including deletions. Delete a folder on your laptop while syncing and the deletion propagates to the cloud copy too, which leaves you with two empty folders and a false sense of safety.
For that reason, keep your off-site copy as versioned or snapshot storage where you can get it, and keep at least one copy somewhere a deletion cannot reach.
4. Store the Third Copy Somewhere Off-Site
Off-site means a different physical place, not just a different folder. A drive in your desk drawer protects against ransomware, not against a stolen laptop or a fire in the building.
Cheapest options first: a second drive stored at a family member’s home, a locked drawer in a different building on campus, or your institution’s archive service if they run one. Each is a copy that cannot be reached by whoever or whatever damaged the first two.
For larger projects, geographically separate cloud storage gives you the same distance without the drive swap. Pair it with one physical drive per quarter if your data is large enough that re-downloading would cost you a day.
Label the drive with the project name, the date, and your name or group, because an unlabelled drive in a drawer is a drive nobody will ever open again.
5. Protect Sensitive Data With Encryption and Access Controls
If your data identifies participants, ordinary at-rest encryption on the drive is not enough on its own. Turn it on everywhere the data lives, including the copies.
Turn on full disk encryption on the machine itself: FileVault on macOS, BitLocker on Windows. Both are built in and mostly a matter of switching them on and storing the recovery key somewhere other than the laptop.
For individual files or a whole backup drive, use an encrypted container. VeraCrypt is the common open-source choice for cross-platform work, and standard encrypted archives work fine for a single file you need to hand to a supervisor.
Then handle access. Turn on multi-factor authentication for every cloud and institutional account that touches your data. Restrict shared folders to named people rather than anyone with the link, and remove access when a collaborator finishes their part or leaves the project.
If you are unsure how to back up research data safely when the data includes names, contact signatures, or audio recordings, your research office or ethics board will tell you exactly where it may live. That conversation takes a day and takes the guesswork out of everything above.
6. Test the Backup and Document How to Restore Research Data
An untested backup is a hope, not a copy. The test takes twenty minutes and it is the step researchers skip, then regret.
Run a restore drill. Pick four files at random from each of the three copies, open each one, and confirm the content matches the working copy. Include at least one large raw file and one software-specific project file, because a spreadsheet opening does not prove that your .sav or .dta is intact.
Do it properly once: copy one archived project from storage onto a clean folder and re-run a real analysis step from it. If you cannot produce your results from the restored copy, the backup is incomplete, and you have just found that out at the best possible moment.
Then write it down. Keep a short README in the project folder listing where each copy lives, the backup dates, who holds the off-site drive, and the restore steps for a machine that has died. Future you will not remember the drive password or the folder name six months from now.
Common Mistakes
Most backup failures come down to one of a handful of habits. Each has a straightforward fix.
- Keeping only one copy. A single drive is a single point of failure, and drives fail quietly rather than loudly. Fix: make the second copy today and the off-site copy this week.
- Using the same synced folder everywhere. One deletion travels to every location at once. Fix: keep one versioned or snapshot copy that deletions cannot propagate to.
- Backing up after the analysis has already started. Waiting until the end of the project means the first month was never protected. Fix: back up before you begin working on a new data batch.
- Treating sync as backup. Sync mirrors the current state, including mistakes. Fix: add scheduled or snapshot storage with retention.
- Ignoring hidden and software-specific files. Dot-prefixed configuration folders, .sav and .dta working files, and R library folders are easy to miss. Fix: back up whole project folders, not selected file types.
- Never testing a restore. Corrupt archives and failed uploads look like successful backups in the file list. Fix: open random files from each copy on a schedule.
- Uploading sensitive data without checking university rules. A service that is technically excellent may still be prohibited for identifiable data. Fix: confirm the location with your research office before the first upload.
- No version history on the data itself. Overwriting a cleaned file removes your ability to explain a result. Fix: keep raw data read-only and date-stamp every derived version.
A few habits keep the system running without attention. Schedule backups rather than relying on memory, since deadline periods are exactly when memory fails. Keep automatic sync on for code and documents but leave the raw data folder outside the syncing path. Review access lists once a term, and re-run a restore drill every few months.
Forum threads on this topic repeat the same story: someone loses a few hours or a few weeks of work to a dead laptop or a deleted folder, then sets up cloud storage the same day. The cheapest time to do it was before the loss, and the second cheapest time is today.
How Often Should You Back Up Research Data?
Back up after every major data change, and at least daily while you are actively collecting or analysing. That covers almost every real case.
Two terms make the decision concrete. Your recovery point objective is how much recent work you are willing to lose, and your recovery time objective is how long you can wait to get files back. A student writing a thesis usually accepts losing a day and an hour. A lab running a six-week instrument campaign cannot.
- Active data collection: back up the moment each batch arrives, before you open or clean anything. New instrument output is the one thing you cannot recreate.
- Active analysis: daily at minimum, plus a copy after every merged or recoded dataset.
- Long-running projects: weekly full copies to the off-site location, and always before a travel period, a hardware move, or a conference.
- Completed projects: freeze the final dataset with a version tag, deposit it, then stop. Ongoing backups matter less once nothing is changing.
Whenever a new file or dataset is created, received from a collaborator, or handed over by someone else, that is a backup moment. New data is exactly what people forget.
Frequently Asked Questions
What is the 3-2-1 rule for data backup?
The 3-2-1 rule means keeping three copies of your data, on two different storage systems, with one copy stored off-site. One copy is the one you work on, one sits on local storage such as an external drive or network share, and one lives somewhere physically or geographically separate. No single failure, theft, or ransomware attack can then destroy everything at once.
Is cloud storage a real backup for research data?
Cloud storage counts as your off-site copy, but only if it keeps versions or snapshots. A syncing folder mirrors the current state of your laptop, so a mistaken deletion propagates and empties the cloud copy too. Treat consumer sync as convenient storage, and make sure at least one other copy exists that deletions cannot reach, ideally with a retention period.
How often should I back up my research data?
For most people who search how to back up research data safely, the answer is: back up after every major data change, and at least daily during active work. Save a copy of each new batch the moment it arrives from a survey, interview, or instrument. Add a weekly off-site copy during long projects, and always back up before travel, a hardware move, or a deadline period.
How do I back up sensitive or interview data?
Check where sensitive data is permitted to live before you upload anything, since many ethics boards restrict identifiable data from consumer cloud accounts. Turn on full disk encryption such as FileVault or BitLocker, use an encrypted container or VeraCrypt for files and backup drives, enable multi-factor authentication, and restrict shared folders to named people. Your research office can confirm the approved locations.
How do I know my backup actually works?
Test it. Open several files at random from each copy and confirm the content matches, including one large raw file and one software-specific project file such as a .sav, .dta, or .RData file. Once per year, restore an archived project into a clean folder and re-run an analysis step. A file listing that looks complete does not prove the archive can be opened.
What do I do with research data when I graduate?
Take the data with you rather than leaving it on campus systems you will lose access to. Before you go, copy the master dataset, code, codebooks, and documentation onto drives or storage you control, using open formats such as CSV rather than proprietary ones. Deposit a citable copy in a repository such as Zenodo, Dryad, or your institutional archive so the work stays verifiable after you leave.
Conclusion
Start with the file structure, then make the second and third copies today. Three copies, two types of storage, one off-site, encrypted where people are identifiable, and a restore test that proves the files open.
Once that hour is spent, the protection runs quietly in the background for the rest of the project.